Diamond Deals USA
Easy DIY Dental Molding kit and Instructions-2 Kits
Easy DIY Dental Molding kit and Instructions-2 Kits
Couldn't load pickup availability
Teeth Mold Required for Grill Manufacturing
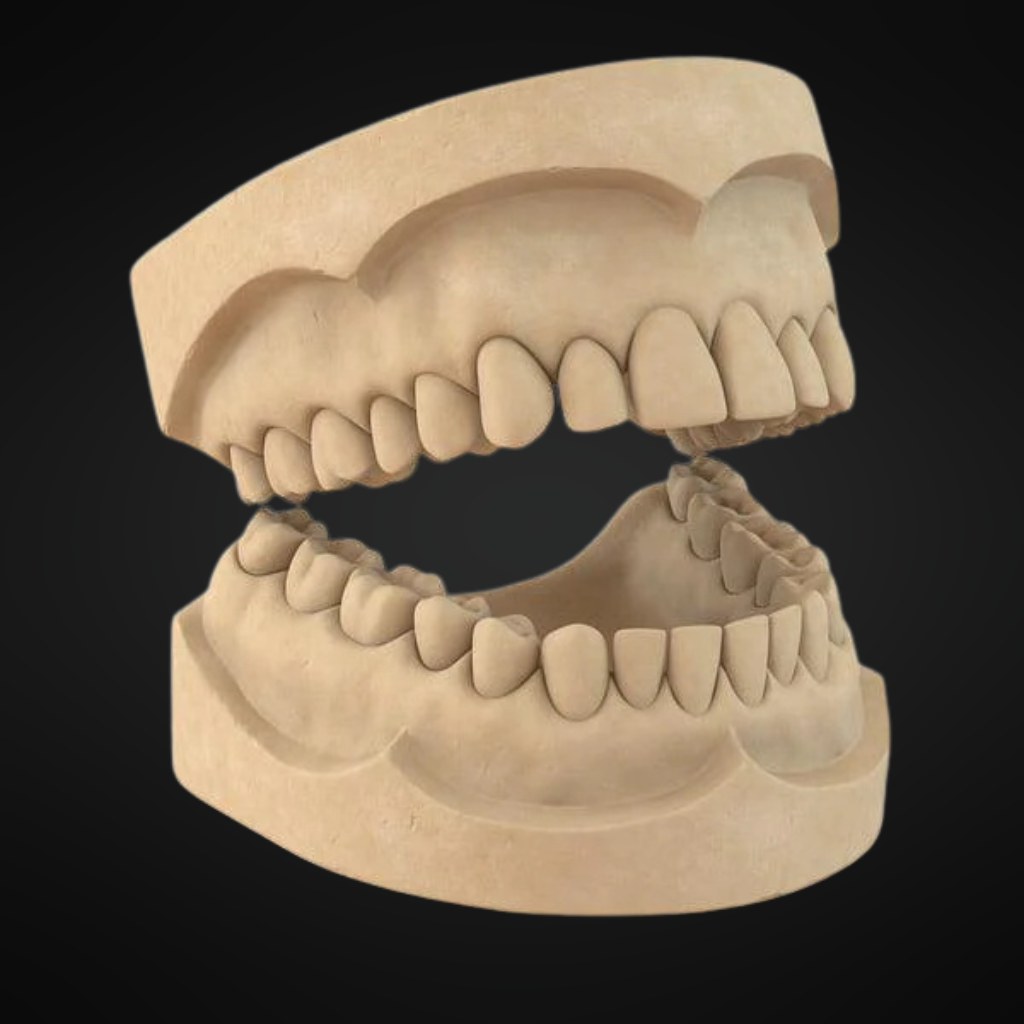
To create a custom grill, we need a precise mold of your teeth.
Key Details:
- The kit is suitable for either the top 8-10 teeth or the bottom 8-10 teeth.
- Each order comes with 2 kits, providing enough material to make up to 6 molds.
Please note that " return postage/label is not included " in this package. Customers are responsible for covering the cost of return shipping.
Why a Mold is Needed:
The only way we can accurately craft gold caps or grills is by using an exact impression of your teeth. You will receive a mold kit by mail, complete with easy " step-by-step instructions" on how to use it. The kit provides enough material to make 2 molds.
If you already have a mold and would prefer to send that to us instead of making a new one, you're welcome to do so.
While a dentist can create the mold for you, our simple step-by-step instructions allow customers to do it themselves, saving both time and money.
Easy DIY Dental Molding Kit and Instructions - 2 Kits
This product includes two easy-to-use DIY dental molding kits, perfect for anyone who needs to take dental impressions from the comfort of their home. Here’s a step-by-step guide on how to use the kit:
Step-by-Step Instructions:
1. Prepare the Materials:
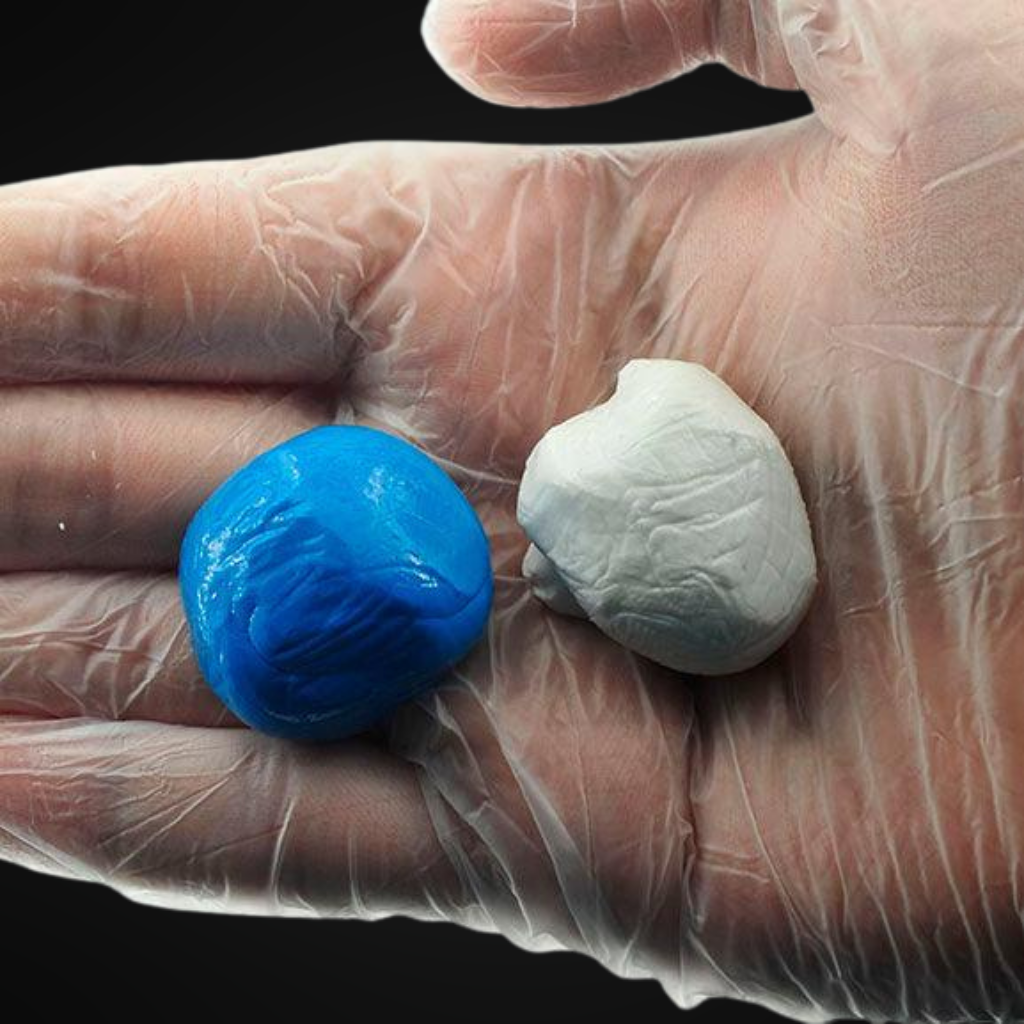
- Take out one impression tray and one set of putty (base and catalyst).
- Make sure your hands are clean before handling the putty.
2. Mix the Putty:
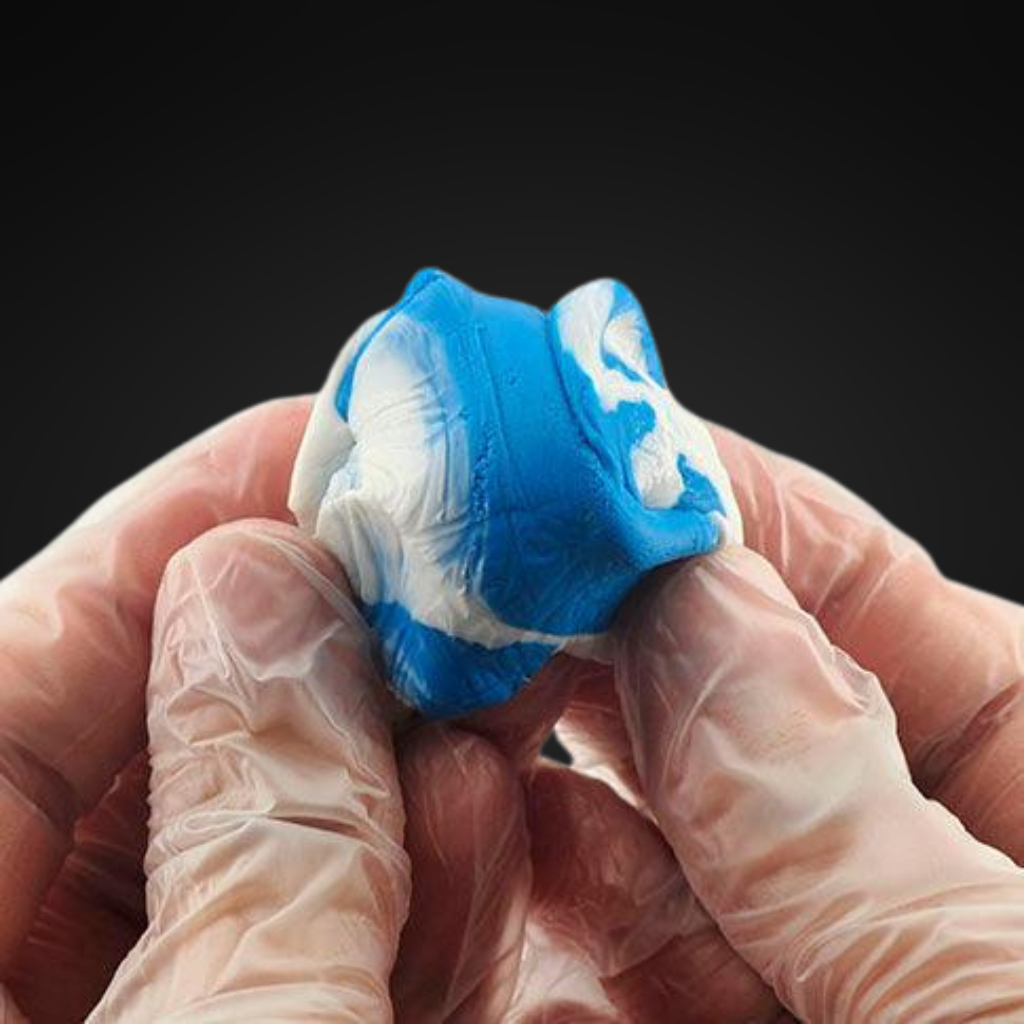
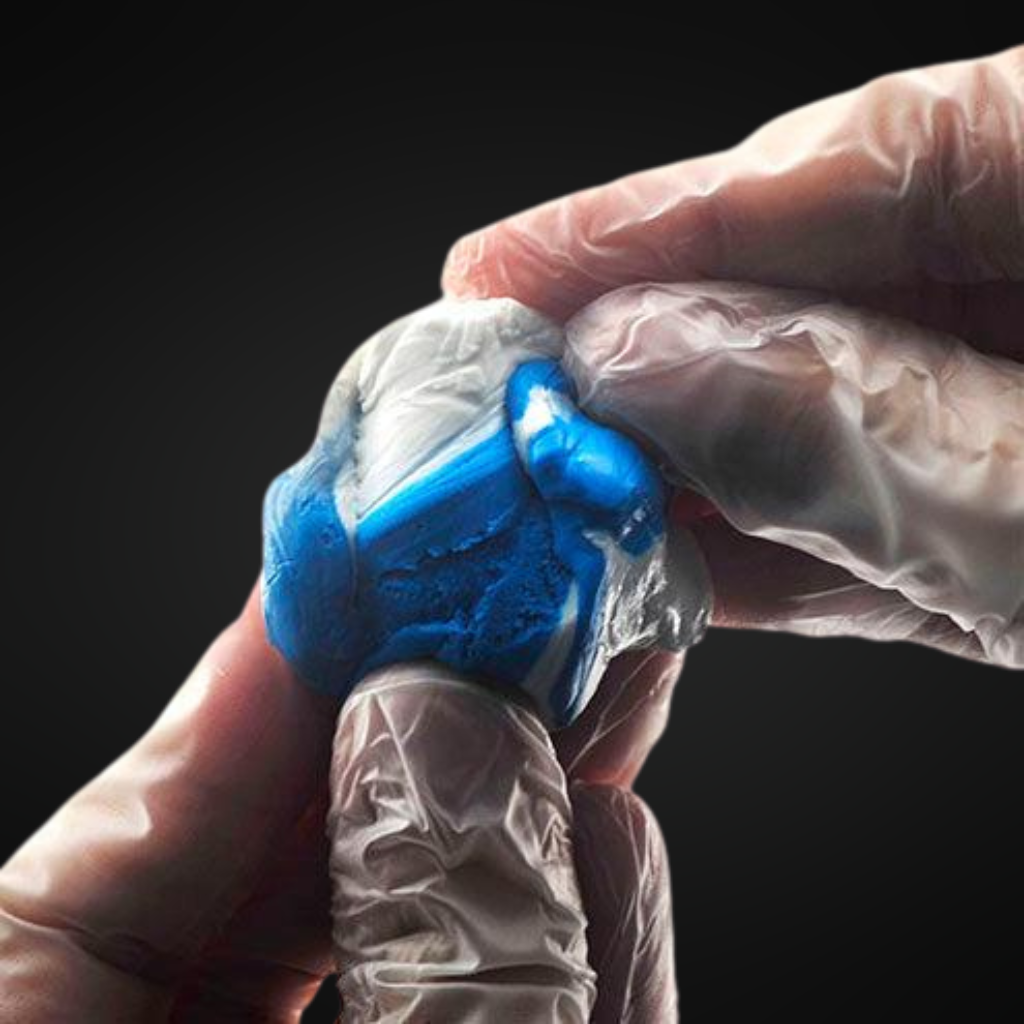
- Mix the base putty and catalyst together by kneading them with your fingers. You need to mix until the putty turns into a uniform color (usually about 30 seconds).
3. Fill the Tray:
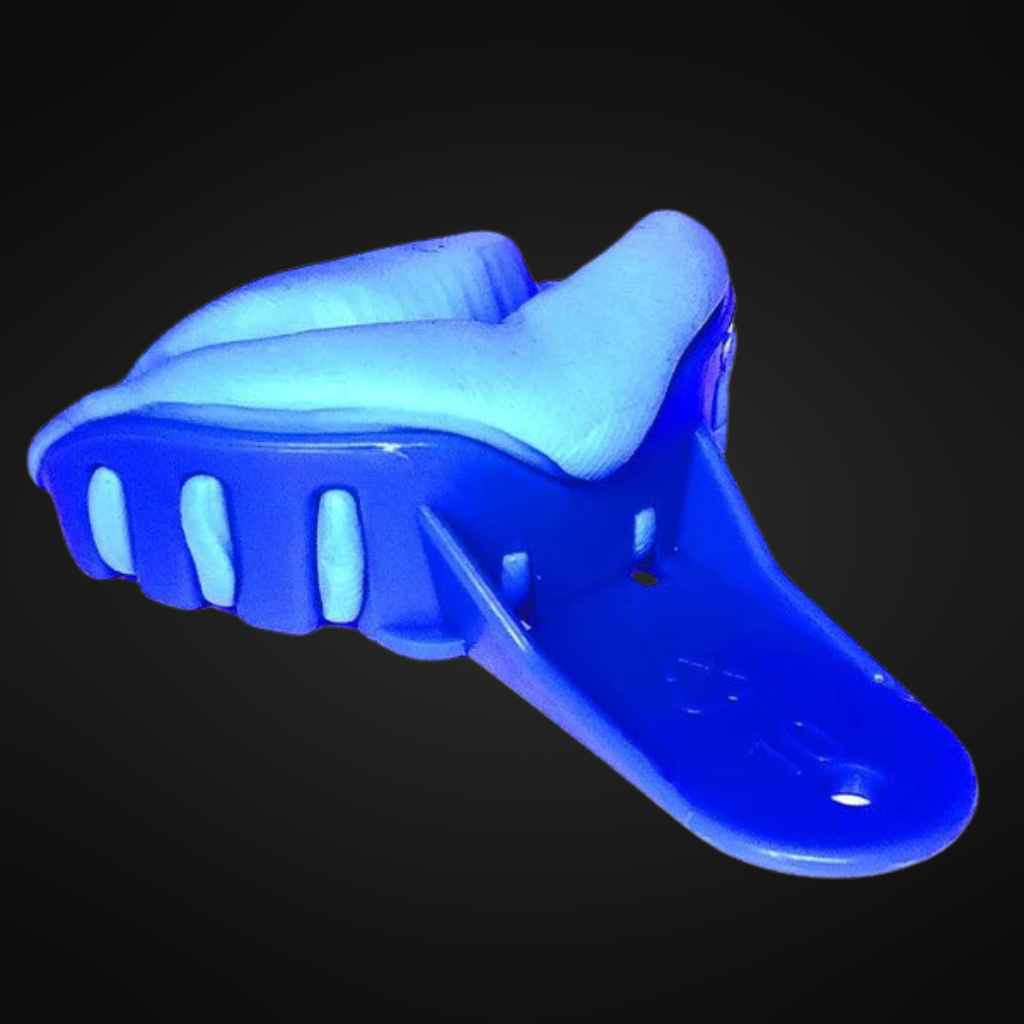
- Once the putty is ready, quickly roll it into a tube shape and press it evenly into the impression tray. Make sure it covers the entire tray.
4. Take the Impression:
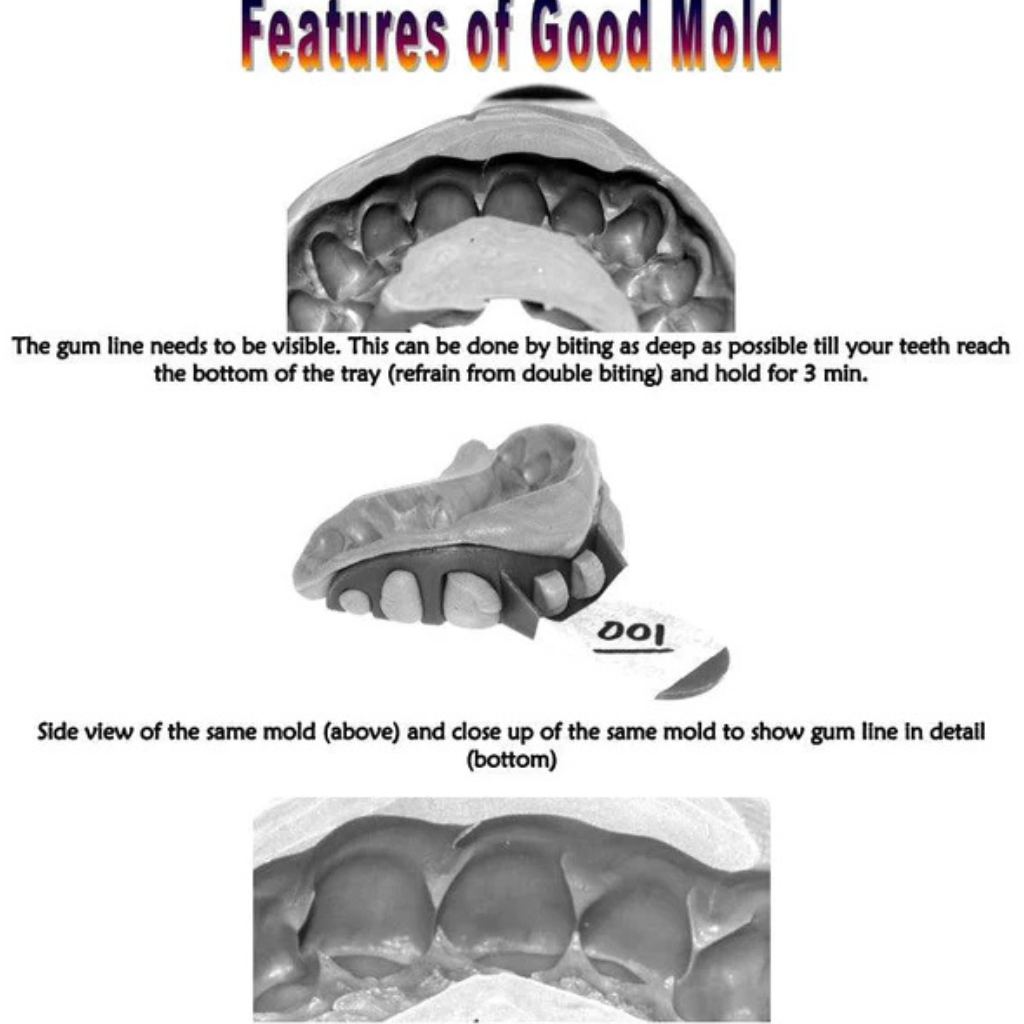
- Place the tray into your mouth and press it firmly against your teeth.
- Hold it in place for about 2-3 minutes or until the putty hardens.
- Be careful not to move the tray while waiting.
5. Remove the Tray:
- Gently remove the tray from your mouth once the putty has set.
- Inspect the impression to make sure it’s accurate and free of defects.
6. Repeat for the Other Set:
- Follow the same steps using the second kit for an additional impression or for your lower/upper teeth.
7. Final Steps:
- Once the impressions are complete, allow them to fully harden (typically about 10-15 minutes).
- Store the impressions safely
Tips:
- Be sure to read all the instructions thoroughly before starting.
- If you're unsure of the fit, practice placing the tray in your mouth before using the putty.
- Use a timer to keep track of the hardening time.
Enjoy the convenience of creating accurate dental impressions from home!
